

Every occasion is an excuse to craft. At least, that’s my philosophy.
My mom’s birthday at the end of June marks the last of our June festivities. But that’s not to say we don’t go all out! The minimum in our household is a family birthday celebration that includes singing happy birthday and a birthday cake. As the siblings have gotten older, that’s the least we can dedicate to our parents – you know, those people who brought us into this world and spent years raising us. They deserve to tell us our birth story and fawn over us for a couple hours.
My mom, she’s the glue that holds our family together. She does so much for us, and really doesn’t expect anything in return. This year, it was just me here to hold down the fort and make sure she got the special birthday celebration she deserved.
Birthday cakes are so cliché, and cupcakes are a bit overdone. Well, to be honest, I’m not the best cake or cupcake decorator. So in an attempt to think outside the proverbial box, I came up with a cream puff cake. I was really excited about the idea because instead of being forced to eat a slice of cake, you could just take a couple cream puffs and call it a day. Despite some minor setbacks during the execution of this cream puff cake, I made it work.
Happy Birthday, Mom!
Materials
- 1 Hershey’s Bar
- 1 small tube Decorating Gel
- 2 boxes Vanilla Pudding Mix
- 1 Cup Milk
- 2 Cups Heavy Whipping Cream
- 2 containers 30 count Frozen Cream Puffs
- Cake Box
- 1 14-inch Cake Base
- Piping bag
- Wide-nose flower metal piping end
Directions
Before you can start assembling your cream puff cake, you’ll need to mix together your cream and refrigerate until it thickens. To do this, mix together the vanilla pudding mix, 1 cup of milk and 2 cups of heavy whipping cream in a large mixing bowl. Whisk until it becomes a thick, smooth consistency. Refrigerate for 15-30 minutes.

Next, you’ll need to prepare your writing slab. I took the easy way our and just used a Hershey’s bar instead of melting my own chocolate. We’ll chalk that up to running out of time and still trying to figure out how to melt white chocolate.
This part is easy. Just write your message using the decorating gel on the smooth side of the chocolate bar. Refrigerate until your ready to use it.


Now it’s time to assemble your cream puff cake.
What I did first, was place all my cream puffs where I wanted them on the cake base. That way, I had a visual for placement. Once I knew where I wanted eat one to go, I used a small spoon to add some cream to the bottom of each cream puff, that way it won’t slide off the cake base.
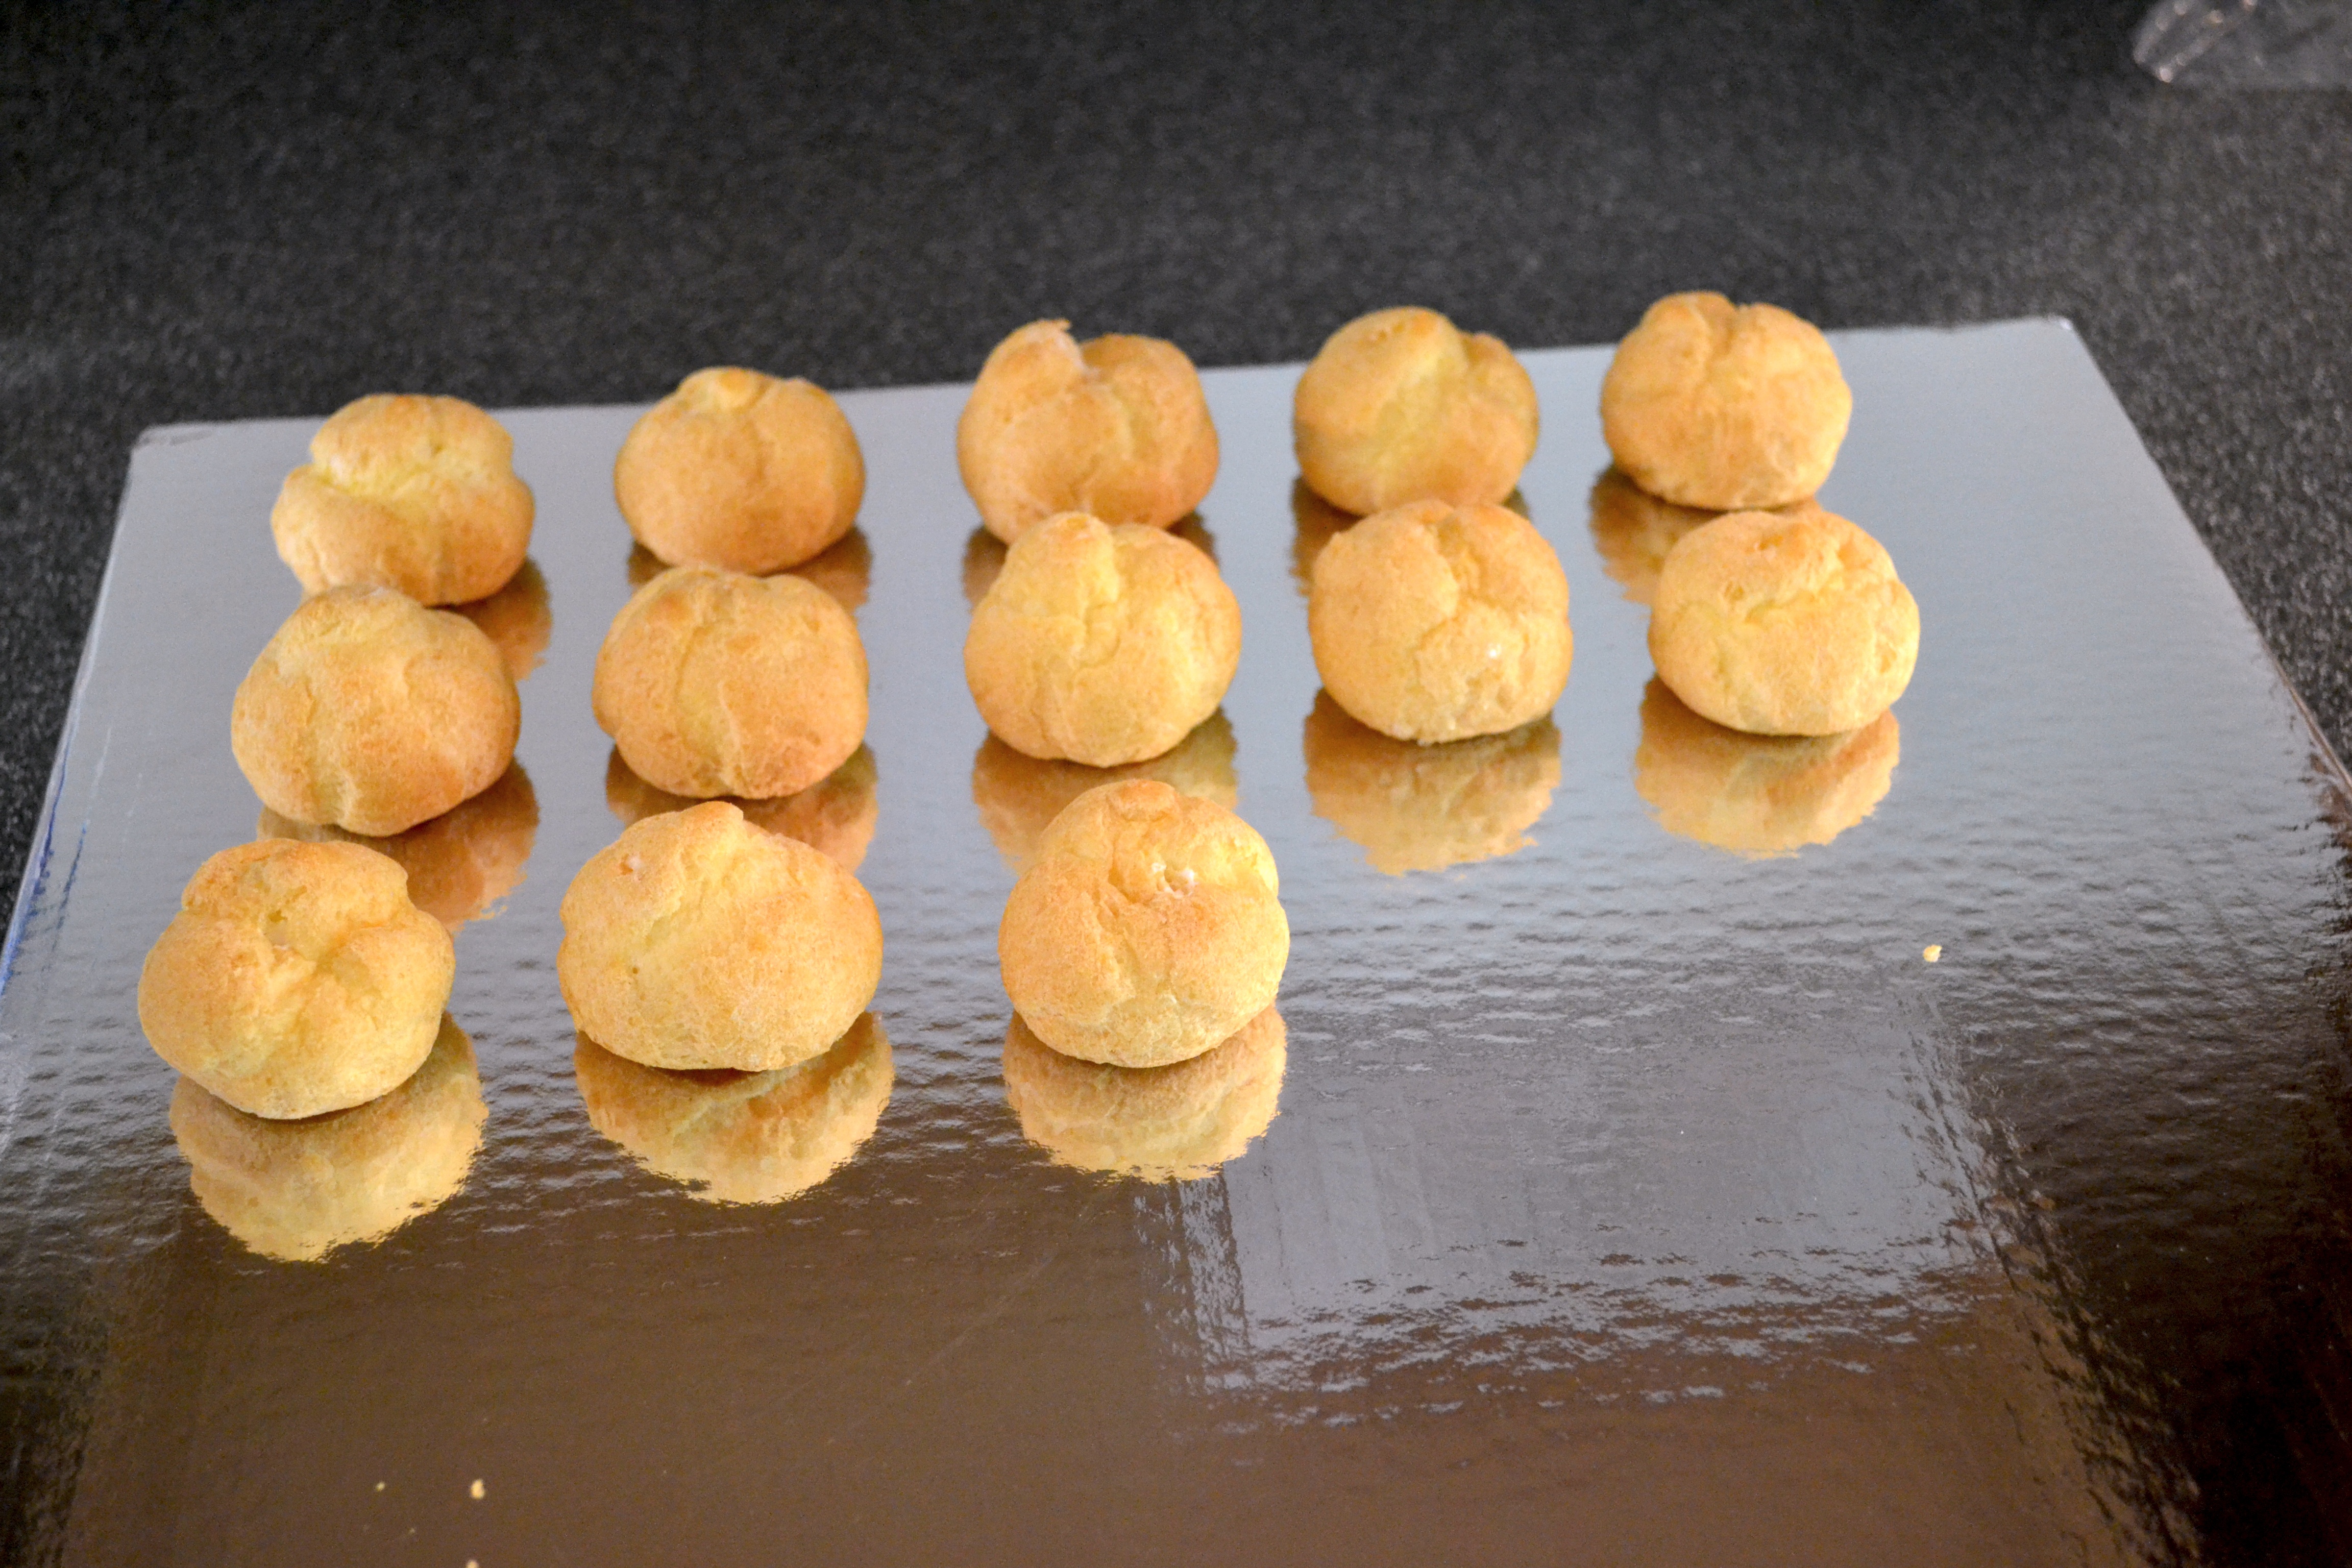

Now that the first layer of cream puffs is set, fill your piping bag with the remaining cream and using a wide-nosed nozzle, fill the spaces in between the cream puffs.

You’ll notice that it still looks a bit bare. Start adding a second layer of cream puffs on top of the filling, then go back over the holes with your piping bag.

Top the cream puff cake off with the Hershey bar and carefully place in the cake box for transport. Keep Refrigerated.

